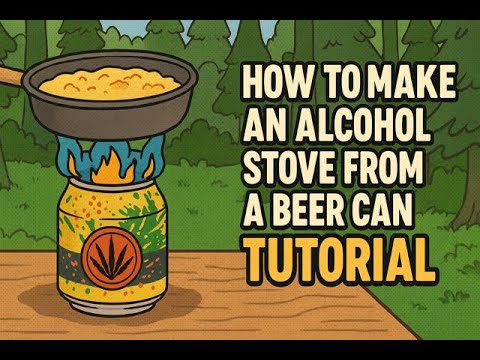
How to Make a DIY Beer Can Stove (Lightweight Alcohol Stove Tutorial for Camping & Survival)
If you’re looking for a lightweight, ultra-portable, and budget-friendly camping stove, few options beat the classic beer can stove. Also known as a hobo stove or DIY alcohol stove, this minimalist cooking tool has become a favorite among bushcrafters, ultralight backpackers, preppers, and survival enthusiasts alike. In this step-by-step guide, we’ll walk you through how to build your own beer can stove, the tools you need, tips for safe use, and why this tiny tin burner might just become a permanent part of your outdoor kit.
What is a Beer Can Stove?
A beer can stove is a homemade alcohol-burning stove constructed from an empty aluminum can (beer, soda, or energy drink cans all work). These stoves are fueled by methylated spirits (also known as denatured alcohol or surgical spirit), which burn cleanly and are easy to find in most hardware or camping stores.
They’re incredibly light (weighing under 30g), don’t require pressurized gas or complex parts, and can be made in under an hour with basic tools.
Tools & Materials You’ll Need
To make your own beer can alcohol stove, gather the following:
- 1 empty aluminum can (beer or soda)
- Sharp knife or box cutter
- Scissors (optional for cleaner cuts)
- Thumbtack or pin (for creating vapor holes)
- Ruler or tape measure (for precision)
- Marker or pen (to mark cut lines)
- Methylated spirits or denatured alcohol
- Small metal pot or cup for boiling water
- Lighter or matches
- Metal mug or pan to extinguish the stove safely
Step-by-Step Instructions
1. Prepare the Can
Rinse and dry the can thoroughly. Remove any leftover liquid or residue.
2. Mark Your Cut Lines
Use your ruler to measure and mark two horizontal lines: one about 2–3cm from the bottom of the can (this will be the fuel chamber base), and another roughly halfway up (to cut off the top of the can).
3. Cut the Can Safely
Using a knife, carefully score along the lines. Scissors can help for cleaner cuts. Avoid cutting while holding the can between your legs—stability is key. The goal is to remove the top section and separate the bottom to create the stove body.
Tip: Cutting near the rigid bottom rim helps keep the structure intact and prevents bending.
4. Create Fuel Channels & Holes
Use a thumbtack to create small holes evenly spaced around the upper edge of the stove. These holes act as fuel vapor jets and are essential for combustion.
For better flame control, you can also dent small grooves or bevels along the stove’s rim to create fuel channels, allowing vaporized alcohol to rise and ignite evenly.
5. Assemble the Stove
If using a two-part design, gently insert the top section of the can into the bottom (inverted) to create a double-walled stove. This improves fuel vaporization but isn’t mandatory for basic models.
6. Add Fuel & Light Safely
Pour about 15–30ml of methylated spirits into the stove. Carefully light it with a lighter or match. You may need to warm the stove slightly before the jets ignite.
Always test your stove in a well-ventilated, wind-protected outdoor area.
7. Boil Water or Cook
Once lit, place your metal pot or cup above the flame using a small pot stand or brick supports. Monitor closely—these stoves can boil 500ml of water in under 8 minutes in good conditions.
8. Extinguish & Store Safely
To put out the flame, use a metal mug or pot to smother it. Let it cool before handling. Any leftover fuel can be reused next time—just add a lid or cork to seal the stove.
Common Mistakes to Avoid
- Cutting too close to the thin aluminum wall, which causes warping or leaks.
- Too many or too large holes, which can extinguish the flame prematurely.
- Skipping the windscreen, making it unusable in breezy conditions.
- Using the wrong fuel — only use methylated or denatured alcohol.
Why Use a Beer Can Stove?
✅ Lightweight & Packable
Ideal for minimalist backpackers and bug-out bags, a beer can stove weighs next to nothing and takes up very little space.
✅ Budget-Friendly
Made from trash and fuelled by cheap alcohol, it’s one of the most cost-effective stoves available.
✅ Great Learning Project
Making your own stove helps develop your survival skills, boosts confidence, and encourages sustainable thinking.
✅ Surprisingly Effective
In calm conditions, it works just as well as some ultralight commercial stoves—especially for boiling water or reheating meals.
Downsides & Cautions
- Highly sensitive to wind — always use a windscreen.
- Not adjustable — once lit, the flame size is fixed.
- Takes practice — your first version might not work well (and that’s okay).
- Flammable — always build and use with full focus and in safe environments.
Final Thoughts
Whether you’re prepping for an emergency, planning a weekend hike, or just love clever DIY projects, building a beer can stove is a fun and rewarding challenge. It’s light, effective, and surprisingly satisfying to cook with something you made from a bit of scrap.
So next time you crack open a cold one, maybe save the can — it might just boil your morning coffee on the trail.
Happy crafting, and stay safe out there.